I love unique art work. I was looking through the Pottery Barn Kids catalog a few years ago and saw an adorable collection of birdie canvases. Super cute, but the price wasn't so cute. I wondered if it was something I could whip up on my own. I searched the internet and found some templates.
I used this free Amy Butler template for the rooster, butterfly, and tall bird. Did you know she has free sewing and craft patterns? How cool is that? It's the Nigella Silhouettes. I didn't make the intended artwork, but the templates can be used for a variety of projects.

A bit of rick rack and a tiara make this tall birdie quite regal.

This rooster got a sparkly eye and trimmed in some ribbon.

I found another template for the smaller birdies, but unfortunately the template is no longer available. I traced the parts and scanned them in case you want to use them. It's not professional, I'm sorry... You should be able to click on the picture and print out the template.


I added a scrapbook embellishment to the bottom by the branch that looks like a little leaf.
Here I just flipped the pattern over and cut out a mirror image so I had two birdies facing opposite directions. This little birdie got a gingham scarf in the form of a tied ribbon. Hold the ends of the ribbon over a open flame, very carefully and not directly in the flame, to seal the ribbon so it doesn't fray.

Here is the other bird template. You can see the main body, then there are two wings, an oval belly part, tiny feet, tail, and a branch. It's best to dry fit your pieces before you start glueing. You can look at my finished bird below for a sample placement.


The original tutorial I followed recommended artist canvas. I happened to see some wooden blocks in my dad's garage that he was going to throw out. I scooped them up, spray painted them white and they worked perfectly for this project. I also think embroidery hoops would work great too!
After you select your templates, simply cut out the pieces using any scrapbook paper. I used Heather Bailey's Pop Garden Scrapbook Paper for my project and used spray adhesive to attach them to the surface, but you could use any glue that allows the paper to lay flat. Once everything is in place, start embellishing! As a mentioned earlier, I used scrapbook embellishments to jazz up my little animals.
Rhinestone stickers became the eyes. Tied ribbons became little scarves. Ribbons bordering the bottom looks like a collar.
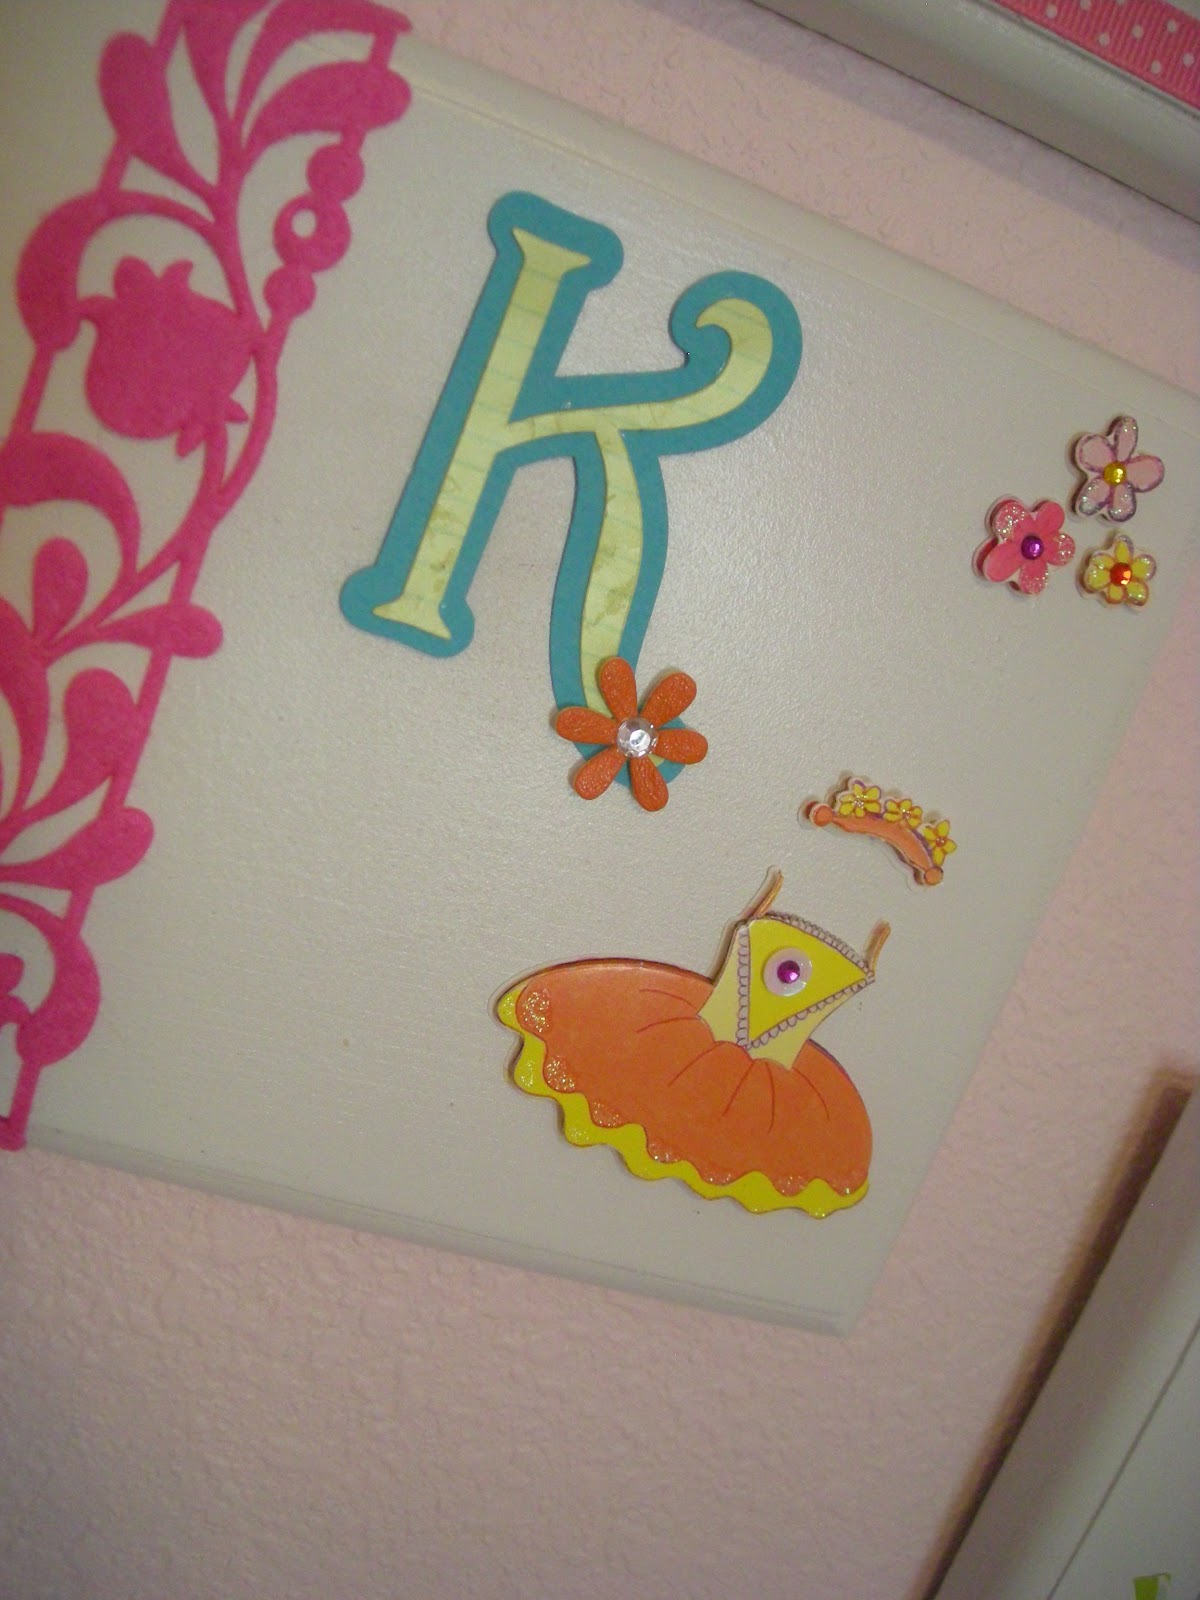
Get creative. There's no right or wrong. After I ran out of animal templates, I made one of the blocks a monogram of sorts. It have a "K" along with cute other embellishments.
This was a super easy, quick, and inexpensive project. Such a fun wall art collection that can be tailored to any decor! Have fun!